
How to Carve a Pumpkin for Halloween
The clocks have wound back, the leaves are rustling along the flagstones and the nights are drawing in.
For all you parents out there frantically rushing around picking up spooky party treats or adding finishing touches to your little monsters’ trick-or-treating costumes, here’s a quick guide to pumpkin carving to help you stay one hairy toe ahead of all those freakish festivities and ghoulish gatherings…
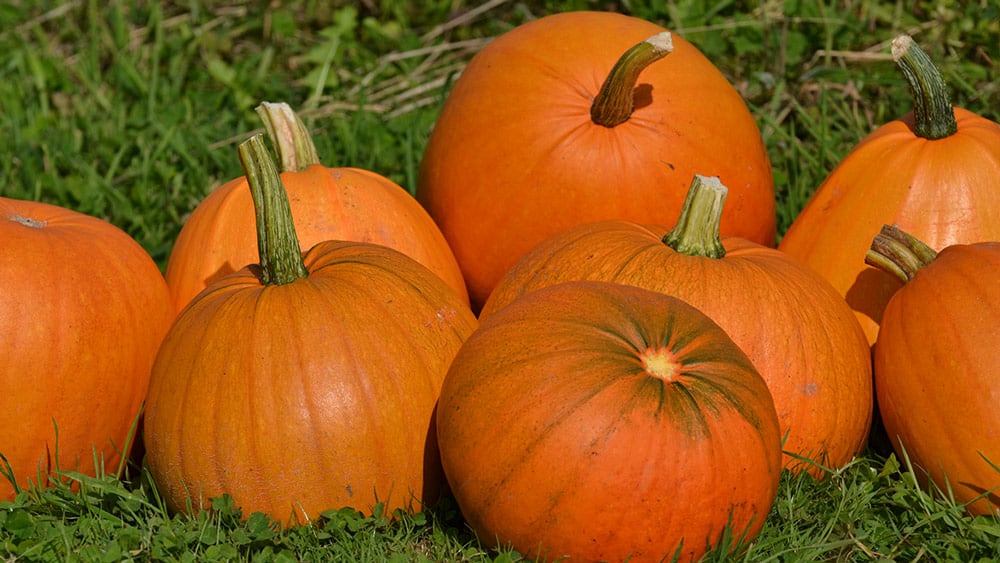
Choosing Your Pumpkin…
Pick up a handsome, fair-sized pumpkin. Make sure you pick out one without spots and bruises, looking for that magnificent orange hue and colouring throughout.
Cutting Round the Stem…
Use a sharp serrated knife to cut around the pumpkin stem. Be very careful. If it helps, follow a pencil or black marker line to get an even slice around the crown. Not to be attempted by tots!
Scoop out the Flesh…
Use a large metal serving spoon to scoop out the flesh, seeds, pulp and strands so that you’re left with a hollow basin behind the hard, outer skin.
Top tip: Why not use the flesh to make delicious pumpkin soup or a wholesome pumpkin pie.
Sketch out your Design…
Using a marker pen, carefully stencil your scary design onto the face of your hollow pumpkin. If you haven’t got much confidence in your creative talents, you can always find a template or carving pattern on the internet: stick the pattern onto the face of your pumpkin and tape over any inevitable tears. Using something pointed, poke along the lines of the template to create a dotted line effect enabling you to then join up the dots once the template is removed.
Top Tip: Sprinkle or rub in some white flour to help illuminate the dots making them easier to follow.
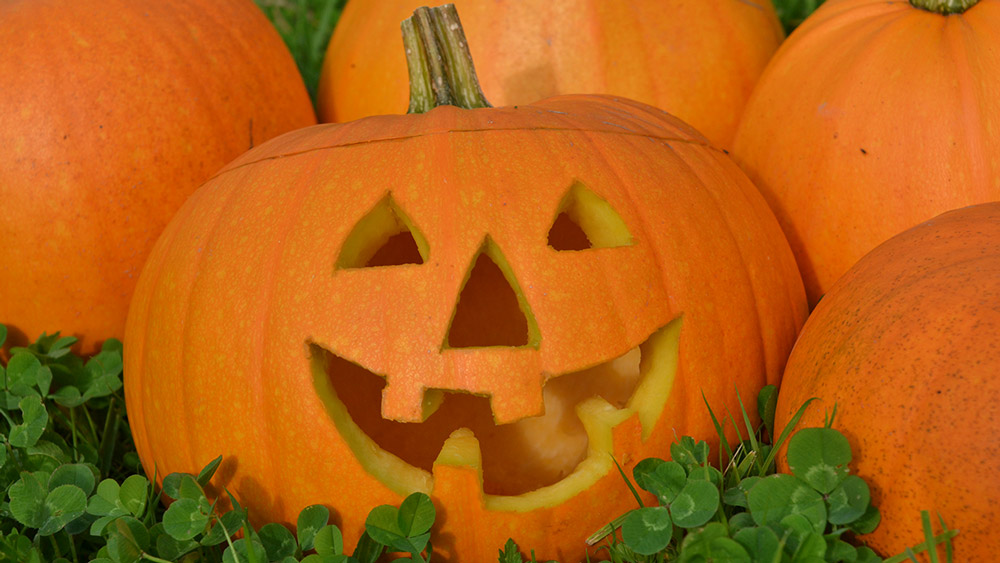
Cutting and Carving…
This is the trickiest bit but also the most enjoyable. If you’re making the most of what’s available in your cutlery drawer, then chose a small serrated knife. However, there are tools available for purchase ideal for pumpkin carving, such as, a small safety saw, or, if you really want to go to town, why not invest in a professional pumpkin carving kit.
Safety Tip: Always cut away from yourself just in case the knife or cutting instrument should accidently slip. Not to be attempted by youngsters unsupervised!
Lighting up your Spooky Pumpkin…
Tea lights can offer a natural, flickering glow to your hand-carved pumpkin, but you can use LED candles if you’d rather avoid having a naked flame inside – particularly when there are little exploring fingers about!
Good luck & happy Halloween!
Fun Fact: Did you know that Halloween pumpkins are historically known as ‘jack-o’-lanterns’ and named after the phenomenon of a spooky flickering light sometimes seen over peat bogs (also known as will-o’-the-wisp). It’s also linked to the legendary Irish tale of ‘Stingy Jack’ (also known as ‘Jack the Lantern’), a drunken rogue who tries to bargain with the devil but becomes doomed to roam the dark woods and shadowy hills with only a hollowed turnip lantern to help guide him on his way.